
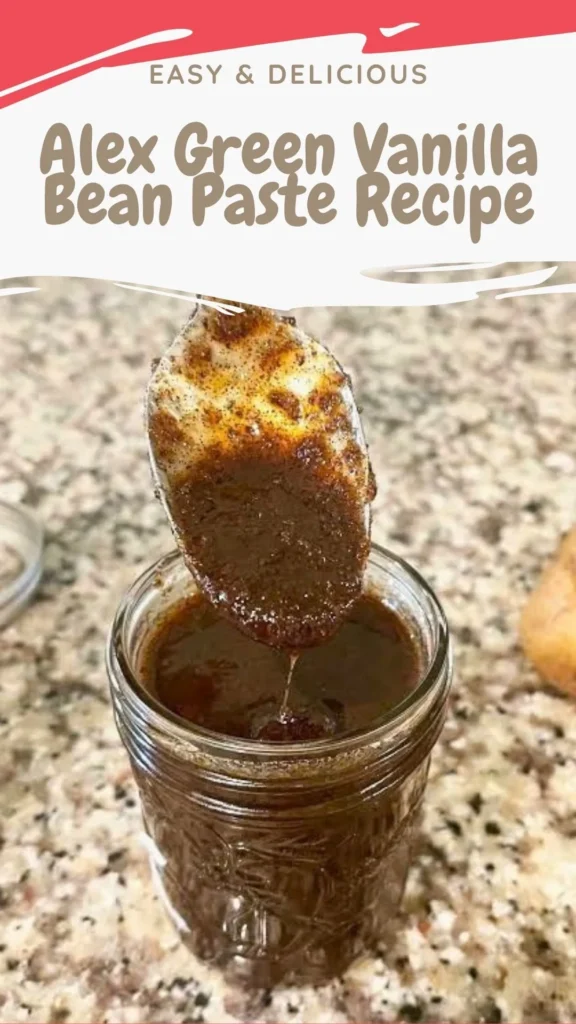
Most vanilla paste recipes ask you to wait. Steep whole beans in alcohol, tuck the jar in a dark cabinet, and check back in six months. This Alex Green vanilla paste recipe skips all of that. Everything goes into a blender, and ten minutes later you have a thick, syrupy paste flecked with real vanilla bean specks, ready to use the same day.
This version is a half batch of Alex Green’s updated recipe, and it still makes a generous amount: about 2½ cups. It’s a one-to-one swap for vanilla extract in anything you bake, and it costs a fraction of what the jarred stuff runs at the store.
A quick note: weigh your ingredients rather than measuring by volume where you can. Bean size varies a lot, and weight keeps the ratio consistent.
What Is Vanilla Bean Paste and Why Do Bakers Love It?
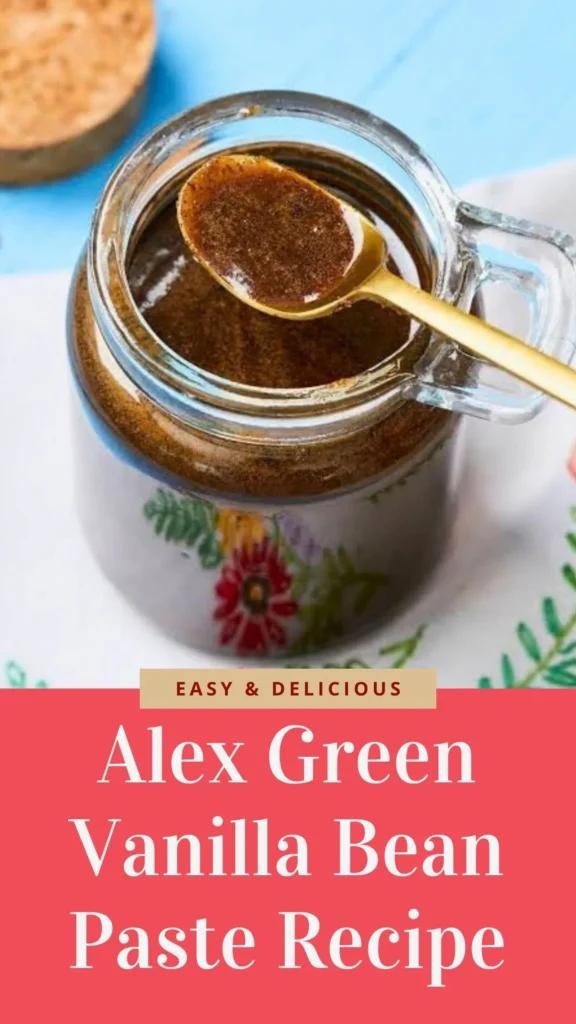
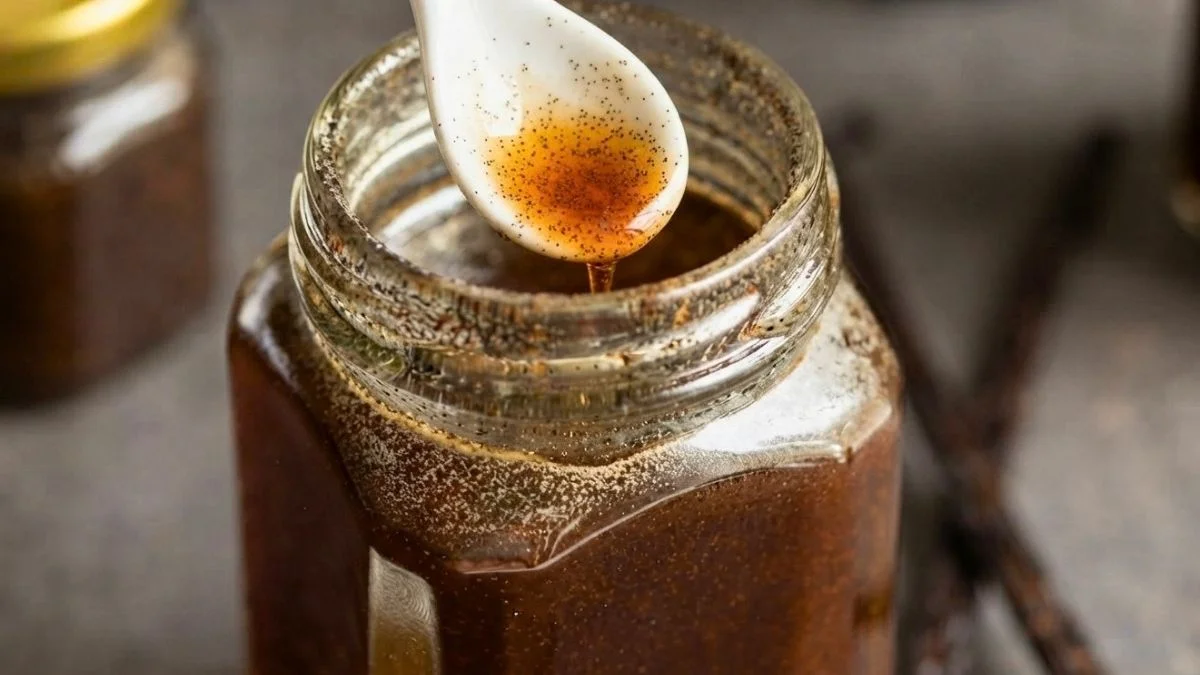
Vanilla bean paste sits somewhere between vanilla extract and a whole vanilla bean. It’s thick, almost syrupy, and packed with tiny black vanilla flecks, often called vanilla caviar, suspended throughout. Unlike extract, which is a thin liquid, paste adds visual texture to whatever you’re making, think speckled vanilla ice cream or flecked buttercream.
Flavor-wise, it’s concentrated and rounder than straight extract, since it carries the sugar and the ground bean itself, not just the alcohol-extracted flavor compounds. Compared to scraping a whole pod every time you bake, paste is pre-made and ready to spoon in.
Bakers love it because it delivers the look of real vanilla bean without the cost or hassle of buying fresh pods for every recipe. Used in a 1:1 swap for extract, it works in cookies, cakes, frosting, ice cream, and more, and the flecks make even simple desserts look more intentional.
The History Behind Homemade Vanilla Paste
Traditional vanilla extract is made by steeping whole beans in alcohol for months, letting the flavor compounds slowly leach out. Vanilla bean paste developed as a workaround: pastry professionals wanted the visual appeal of real bean flecks and a thicker, more versatile product they could use immediately, without the long wait or the expense of scraping pods for every batch.
Commercial vanilla paste has been a bakery staple for years, but it’s pricey by the jar. The blended, no-steep method behind this recipe is a newer home-cook shortcut, attributed online to Alex Green, that blends whole beans directly with sugar, water, and alcohol instead of waiting for steeping to do the work. Other home bakers and food bloggers have since picked up and adapted the method, drawn to how it collapses months of waiting into one blending session.
That distinction matters: this is a quick-blend vanilla paste, not a steeped extract, and the two behave a little differently, even though they’re used the same way.
Key Ingredients That Give This Vanilla Paste Its Signature Flavor and Texture
Vanilla Beans (Weighed, Not Counted): The star ingredient. Weighing instead of counting matters because bean size varies significantly, and weight is what keeps the vanilla-to-sugar ratio consistent batch to batch.
Sugar: Sugar does double duty here. It sweetens the paste and acts as a natural thickener and preservative, helping the finished product hold its syrupy consistency.
Vodka: The alcohol base helps extract flavor from the blended bean and acts as a preservative, extending shelf life at room temperature. A neutral vodka keeps the vanilla flavor front and center.
Light Corn Syrup: This adds body and a smooth, glossy texture, preventing the sugar from recrystallizing in the jar over time.
Water: Water loosens the mixture just enough to blend smoothly without diluting the final flavor too much.
Xanthan Gum (Optional): Added only if the paste isn’t as thick as you’d like after cooling. A tiny pinch goes a long way, so it’s best added last and sparingly.
Alex Green Vanilla Paste Recipe: Ingredient List
| Ingredient | Quantity | Notes & Substitutions |
|---|---|---|
| Vanilla beans | 2 oz, weighed (roughly 25 beans) | Go by weight, not bean count, since size varies |
| Water | 3 oz (about 6 Tbsp) | |
| Sugar | 8 oz (about 1 cup) | Granulated white sugar; other sugars aren’t tested in this version |
| Vodka | 6 oz (¾ cup) | See the alcohol-free note below if you’d rather skip it |
| Light corn syrup | 1 oz (2 Tbsp) | Adds body and smoothness; not tested without it |
| Xanthan gum | ¼ tsp, optional | Only add if the cooled paste isn’t thick enough; add a pinch at a time |
No alcohol? You can leave out the vodka. Food-grade vegetable glycerin is the usual alcohol-free swap, used in the same amount (6 oz). Alcohol-free paste may not keep as long, so store it in the fridge. This substitution isn’t tested in this specific recipe, so try a small batch first.
Tools You Need to Make This Vanilla Paste at Home
- High-power blender (a Vitamix works well)
- Kitchen scale
- Airtight jars (8 oz jars for yourself, 2 oz jars if you’re gifting)
- Measuring spoons, for the xanthan gum if you use it
Prep Time: 10 minutes
Resting Time: Optional, up to 1 month for the best flavor (usable right away)
Yield: About 2½ cups
Steps to Make This Vanilla Paste Recipe
Step 1: Weigh the Beans
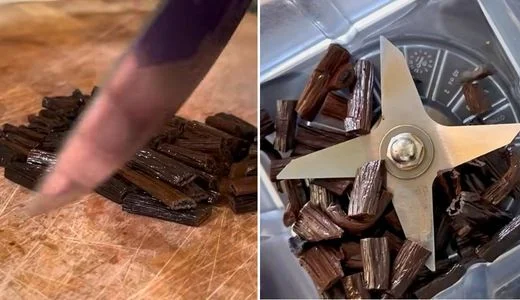
Weigh out 2 oz of vanilla beans rather than counting them. Bean size varies enough that weight is the more reliable measurement here.
Step 2: Add Everything to the Blender
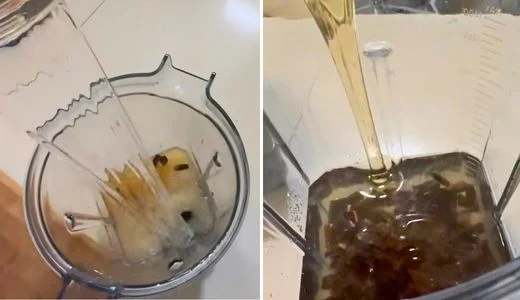
Combine the vanilla beans, water, sugar, vodka, and corn syrup in your blender. Hold off on the xanthan gum for now.
Step 3: Blend Until Smooth
Blend for a couple of minutes, until the mixture is completely smooth and finely ground, with no large bean pieces remaining.
Step 4: Check the Thickness
The paste will look a little thin and will be warm straight out of the blender. That’s normal. It thickens noticeably as it cools.
Step 5: Cool and Adjust
Let the paste cool completely before judging the final texture. If it’s still thinner than you’d like, blend in the xanthan gum a small pinch at a time until you hit the consistency you want.
Step 6: Jar It Up
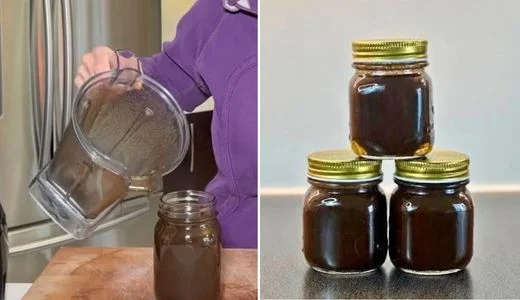
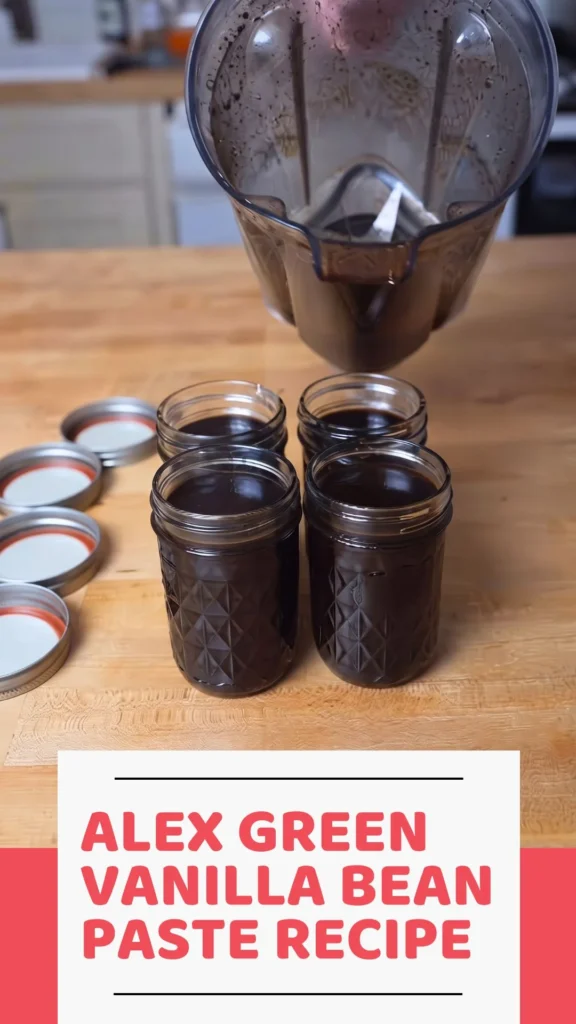
Pour the finished paste into your airtight jars and seal.
Step 7: Use Now or Let It Rest
The paste is ready to use immediately, but the flavor deepens with time. Resting it for about a month gives the best result, if you can wait that long.
Pro Tips for Getting This Vanilla Paste Flavor and Texture Just Right
1. Weigh, don’t count
Vanilla beans vary a lot in size and moisture content, so a bean count alone won’t give you a consistent batch. A kitchen scale is the single most useful tool here.
2. Don’t judge thickness while it’s warm
Fresh off the blender, the paste looks thinner than it actually is. Let it cool completely before deciding whether it needs the xanthan gum.
3. Add xanthan gum sparingly
A little goes a long way. Add it a small pinch at a time, blend briefly, and reassess rather than dumping it all in at once. Over-thickening is hard to undo.
4. Use plump, moist beans
Dry, brittle beans blend less smoothly and give a weaker flavor. Look for beans that are soft and pliable.
5. Blend long enough
Rushing this step leaves visible bean chunks instead of fine flecks. A couple of full minutes in a high-power blender gets you the smooth, fleck-flecked texture you want.
6. Be patient with the rest
The paste works right away, but the flavor noticeably rounds out and deepens over the following weeks. If you can set a jar aside for a month before using it, do.
7. Keep the ratios intact
This recipe is specifically balanced around its sugar, corn syrup, and alcohol content. Swapping out the core ingredients changes how the paste behaves, texture, shelf life, and all.
Easy Variations to Customize This Vanilla Paste Recipe
Alcohol-Free Version: Swap the vodka for the same amount of food-grade vegetable glycerin. Store it in the fridge, since it won’t keep as long at room temperature, and treat it as untested, so try a small batch first.
Flavored Vodka Twist: One reader used chocolate-flavored vodka in place of regular vodka, planning to bake with the result. Other neutral-flavored spirits, like a light rum, could work similarly.
Bean Variety Swap: Try Tahitian vanilla beans instead of Madagascar for a slightly different, more floral flavor profile.
Gift-Sized Batches: Pour into small 2 oz jars with a handwritten label for an easy homemade gift, no separate batch needed.
Stick close to the core ratios of sugar, corn syrup, and liquid when experimenting; this recipe is tested around that balance.
Best Ways to Use Vanilla Paste in Your Meals
Use this vanilla paste anywhere a recipe calls for vanilla extract, swapping it in at the same amount.
1. Baking
Stir it into cookie dough, cake batter, or muffin batter for both the flavor boost and the visual appeal of real vanilla flecks throughout the crumb. It’s especially useful in simple recipes like Stocks Bakery Pound Cake Recipe, where the vanilla flavor can really stand out.
2. Frosting and Buttercream
A spoonful mixed into buttercream or cream cheese frosting gives you that classic speckled vanilla bean look bakeries charge extra for.
3. Ice Cream and Frozen Treats
Because the paste doesn’t fully dissolve, it leaves visible specks throughout homemade ice cream, custard, or panna cotta, the same effect you’d get from scraping a whole pod.
4. Whipped Cream
Fold a little into whipped cream for topping pies, hot chocolate, or fruit desserts. The flecks make even a simple dollop look more special.
5. Milkshakes and Smoothies
A spoonful blended into a vanilla milkshake or fruit smoothie adds flavor without watering things down the way a liquid extract can.
6. Coffee and Lattes
Stir a small amount into coffee, steamed milk, or a homemade latte for a quick vanilla flavor boost, no syrup pump needed.
7. Yogurt and Oatmeal
A small dollop stirred into plain yogurt or warm oatmeal adds natural sweetness and vanilla flavor without reaching for flavored, pre-sweetened versions.
8. Pancakes and Waffles
Add it directly to the batter for the same flavor lift you’d get from extract, with the bonus of visible specks in the finished pancake.
However you use it, start with the same quantity your recipe calls for in extract, then adjust to taste on your next batch.
How to Store and Keep This Vanilla Paste Fresh
Store the finished paste in airtight jars in a cool, dark place, like a pantry or cupboard away from direct sunlight and heat. The alcohol and sugar content both help it keep well at room temperature.
If you made the alcohol-free version with vegetable glycerin, store it in the fridge instead, since it won’t have the same preservative effect as the vodka.
There’s no specific tested shelf-life figure for either version, so use your senses: if the color, smell, or texture seems off, it’s time to make a fresh batch. Letting the paste rest for a few weeks before heavy use also helps the flavor fully develop.
No reheating is needed. This is a ready-to-use paste straight from the jar at room temperature or slightly warmed if it’s been refrigerated.
Nutrition Facts and Dietary Notes for Homemade Vanilla Paste
Estimate per 1 teaspoon, the typical amount used in place of vanilla extract:
| Calories | ~10–15 kcal |
| Sugar | ~2g |
| Carbohydrates | ~2–3g |
| Fat | 0g |
| Protein | 0g |
Vegan: Yes, all the ingredients are plant-based.
Gluten-Free: Vodka made from grain is typically considered gluten-free after distillation, but if you’re highly sensitive, choose a potato-based vodka to be safe.
Contains Alcohol: The vodka remains in the finished paste and isn’t cooked off, so the standard version isn’t alcohol-free. Use the vegetable glycerin swap if that’s a concern.
Not Keto-Friendly: The sugar and corn syrup content rules this out for strict low-carb or keto diets.
Used in small, flavoring-sized amounts, this paste fits into most diets, alcohol sensitivity and keto restrictions being the main exceptions.
This Alex Green vanilla paste recipe turns a months-long process into a ten-minute blending job, without giving up the thick texture or visible vanilla flecks that make paste worth having on hand. Weigh your beans, blend until smooth, let it cool, and adjust the thickness from there. However long you let it rest, it’s ready to swap into your favorite recipes right away.
Alex Green Vanilla Bean Paste Recipe
Ingredients
Method
- Weigh out 2 oz of vanilla beans rather than counting them. Bean size varies enough that weight is the more reliable measurement here.
- Combine the vanilla beans, water, sugar, vodka, and corn syrup in your blender. Hold off on the xanthan gum for now.
- Blend for a couple of minutes, until the mixture is completely smooth and finely ground, with no large bean pieces remaining.
- The paste will look a little thin and will be warm straight out of the blender. That’s normal. It thickens noticeably as it cools.
- Let the paste cool completely before judging the final texture. If it’s still thinner than you’d like, blend in the xanthan gum a small pinch at a time until you hit the consistency you want.
- Pour the finished paste into your airtight jars and seal.
- The paste is ready to use immediately, but the flavor deepens with time. Resting it for about a month gives the best result, if you can wait that long.
Video
Notes
Have you made vanilla paste before, steeped or blended? Let me know in the comments how this version turned out for you, and whether you tried the chocolate vodka twist or the glycerin swap. For more homemade pantry staples, check out the rest of the blog’s DIY baking essentials.
Recipe adapted from Alex Green’s updated vanilla paste method (YouTube), made here as a half batch.
We’d love to hear what you think of this recipe! Give it a try and let us know how it turned out by leaving a comment below. Don’t forget to follow us on Pinterest, Facebook and YouTube for more delicious recipes, cooking inspiration, and kitchen tips. Your feedback and support help us continue creating content you’ll love!